Showing posts with label Photoshop. Show all posts

Saturday, September 29, 2012

Photoshop Cave Painting

Today I finished my first digital art assignment at Full Sail University. For my Art History class, I was assigned to make a "prehistoric"-style cave painting in Photoshop.


This activity taught me a few things about Photoshop. I'll briefly show you how I made the rock wall, added texture, and created a light source.

1. Rock Wall

First, open a new document in Photoshop.


Then, set your foreground and background colors to a light and dark color for your rock wall.


Go to Filter, Render, and select Clouds.


To add a touch of realism, add some noise.


2. Add Texture

Switch over to channels.


Create a new channel. It will be called "Alpha 1". 


Go to Filter, Render, and select Difference Clouds. Then, continue to select Difference Clouds until you get a pattern you like.


This texture will be applied to the rock wall in a second; but first, we need to add a light.

3. Light source

Switch back over to layers. Then, go to Filter, Render, and select Lighting Effects.


This cool lighting tool will then come up. You can adjust the size of this light, its intensity, its shape, its color, and more, until you get it to the effect you want. 


Then, before you hit "okay" on the light, go to the properties panel, click on "Textures", and select "Alpha 1."


You will then have a very rocky-looking texture from your Alpha 1 channel. You can adjust the height to make it very subtle, or very rough. Play around with it and see what you can make!


Sunday, March 11, 2012

True beauty and the ethics of Photoshop

I find it fascinating how fake the models are that we see in magazines and ads.  Most models look like ordinary people before the makeup, lighting, and particularly the Photoshop adjustments, transform them into these artificial and flawless... what shall we call them?  Gods and goddesses?  Angels?  Aliens?  Whatever they are, they are not natural and they are not real.  Here are a few examples I pulled from www.hemmy.net:

(The original image is first; the Photoshop image is shown after.)


Is it just me, or do these pictures make you feel sick?  In each of these cases, I think the original model is physically attractive.  None of these photo edits make sense to me, with the exception of the blemish that was removed in the second picture (with a blemish that obvious, I think I'd remove it, too!).

And yet, it is these edited, counterfeit pictures of models that so many people -- girls and women in particular -- subconsciously look up to as standards for attractiveness and beauty.  According to a study in 2004, only 2% of women think they are beautiful (www.dove.co.uk).  This is a shockingly low number, but should it really be surprising, with the repulsive way beauty has been contorted by our media?

"I wish I looked like such-and-such an actress!" a woman may moan.  But I would plead in response:  "Please understand that you probably do!!"

If you haven't seen Dove's video "Evolution", you need to.  This is another excellent glimpse into the phony world of modeling:


Now, don't misunderstand me: I am not necessarily opposed to editing photos.  I've done it myself on a small scale.  I understand; sometimes the lighting of our photos isn't good.  Sometimes models wake up on photo day with big zits on their foreheads (GACK!!).  That isn't what I'm talking about.

What I am talking about is morphing someone into an unnatural, impossible non-human that no person could ever physically rival in real life.  I'm talking about making aliens into our standard for beauty.  I mean, you might as well make this our standard for beauty (I am talking about the left half of the picture, of course):

By the way, I have no idea what this book is about, I'm not endorsing it, and I couldn't tell you if it was extremely inappropriate or terribly written. I'm just borrowing the cover to emphasize my point... 
As computer artists, we have these questions to ask ourselves:  What is most important or valuable, as we make our computer art, or edit our photos?  What is our highest priority in this matter?  What should be our highest priority?  What power do we wield, as computer artists and culture influencers, and what are we personally doing with that power?  Let me be more specific:  Are we doing more harm or more good with that power?  And if we are doing more harm... what should we do differently so we are doing more good?

What do you think?

Sunday, March 4, 2012

Bryce/Photoshop tutorial: underwater iceberg

© 2012 Brianna da Silva

This tutorial is an example of combining Bryce and Photoshop to create an image.  (By the way, if you're interested in 3D design and Bryce, the software makers are offering it for free for a limited time!)  The concepts in this tutorial can be applied to the creation of many other Bryce/Photoshop images.

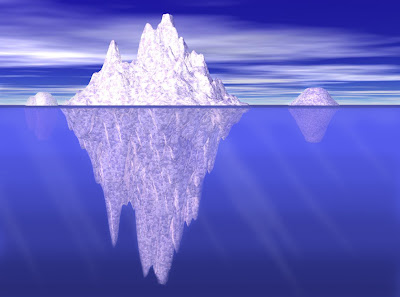
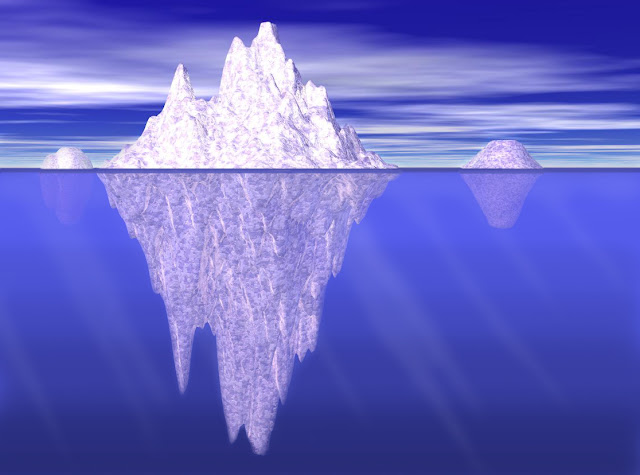
I wanted to make an image something like these pictures (these were just random photos and drawings I pulled off the Internet):


I wanted the classic tip-of-the-iceberg picture, showing the rest of the iceberg underwater.  How would I go about making this, I wondered?  I knew that Bryce did not have a split-screen, half-above/half-underwater capability.  In Bryce, you're either above water, or you're underwater!  So, I decided to use a combination of Bryce and Photoshop (mostly Photoshop) to get the effect I wanted.

Phase 1: Bryce


Step 1: Above water

First, I created the above-water image of the iceberg.  I did this by creating a lattice (learn more about lattices in a former post), which I made really big so the details later would look more realistic.  (General rule of thumb: If the object you're making is big in real life, make it big in Bryce!)


I gave the lattice the iceberg material (go figure!).


Then, I created a water plane, and moved the lattice down so it was roughly halfway "submerged" in the water.

I gave the water the material called deep blue.


I also gave the sky a preset called The Big Deep for lighting purposes.  (Mostly so the water would look dark blue, which didn't really matter anyway.)


Next, I duplicated the lattice a couple times, making smaller icebergs in the distance, just for variety in the picture.


I made these icebergs a little rounder-looking, by first opening the Edit window (found by clicking the E that appears next to an object when it is selected), clicking New under "Editing Tools", and drawing a rough, blobbish shape with the paint tool.

For a more detailed guide on editing terrains and lattices, I recommend this tutorial.  A couple things to keep in mind: In the tools on the left, you can change the size and softness of the brush (I used a big brush with medium softness), and you can adjust the elevation of the brush with the slider.  The higher the red dot, and the lighter the color of your brush, the higher it is; the lower the red dot, and the darker the color of your brush, the lower it is.


Finally, I got my view where I wanted it -- just about level with the water line -- and rendered.  This was the image I got:


Step 2: Underwater


The next step was to create the underwater view.

First, I saved the document as a new project, so I wouldn't loose my first work. Then I deleted the water plane, moved the icebergs up and zoomed out so I could completely see them, and stretched and enlarged them so they would be bigger than their above-water counterparts.

I used this tutorial, found though googling, to change the atmosphere so it had the allusion of being underwater.

This was the result: (Ignoring the cloud and sky; that wouldn't be used in the final image)


Later, I also temporarily removed the icebergs and rendered an image of just the "underwater" scene (I found out, while working in Photoshop, that I would need it):


Phase 2: Photoshop


Now the real work began!  This phase took more time, by far.

Step 1: Basic image


I used the marquee tool in Photoshop to copy the underwater portions of the iceberg, and then paste them on the above-water image.


Using the marquee tool again, I took the plain underwater image (without the icebergs) and put it behind the underwater iceberg layers, to fill in all the gaps.  (Learn more about Photoshop layers here.)

I erased the water around the underwater iceberg layers, stopping right at the edge of the ice.


Step 2: Dark line


I added a dark blue line at the edge of the water, to make the edge look sharper and a little more realistic.  Tip learned: Hold down the shift key while painting, to paint in a straight line!


Step 3: Light rays

My brother suggested I try making light rays in the water, so I gave it a try.

I chose a soft brush, gave it a white color, and painted diagonal streaks in the water.  I gave the light ray layers a very low opacity (8%), and used a soft eraser to taper the streaks to a point. 


Step 4: Darkening water

I made the water get darker as it went further down by painting horizontal streaks, using a soft brush, and making the color just slightly darker with each stroke.  The result was a smooth, subtle transition to a somewhat darker blue.


At last...


Finally, as a sort of small, side adjustment, I darkened the horizon a little by painting a light gray layer with a low opacity.

The picture still wasn't perfect.  The water probably should have been darker, and the iceberg ended up with a strange purplish hue (probably a poor choice of lighting... lighting in Bryce is next on my list of things to learn!).  However, the result was more or less what I imagined.  Regardless, it was a fun example of how a Bryce image can be completely transformed in Photoshop!

The final image:
© 2012 Brianna da Silva

Sunday, February 12, 2012

Basic Layers in Photoshop

One of the most foundational concepts for Photoshop beginners to understand is the use of layers. In this video tutorial, I give a brief demonstration of how layers work.


Saturday, January 7, 2012

How to make Calvary Hill on Bryce

Last night, after posting the "How to make a 3D snowflake on Bryce" tutorial, I had a burst of inspiration. I was too excited to wait until the next day to try it out, so I stayed up late making this:


Now I'll show you how I made it. I used the same technique described in the "How to make a 3D snowflake on Bryce" tutorial. If you haven't already, read that tutorial first, so you can understand the basics before reading this tutorial. (I won't give as many specific instructions in this tutorial; just the general steps.)

Part 1: Photoshop


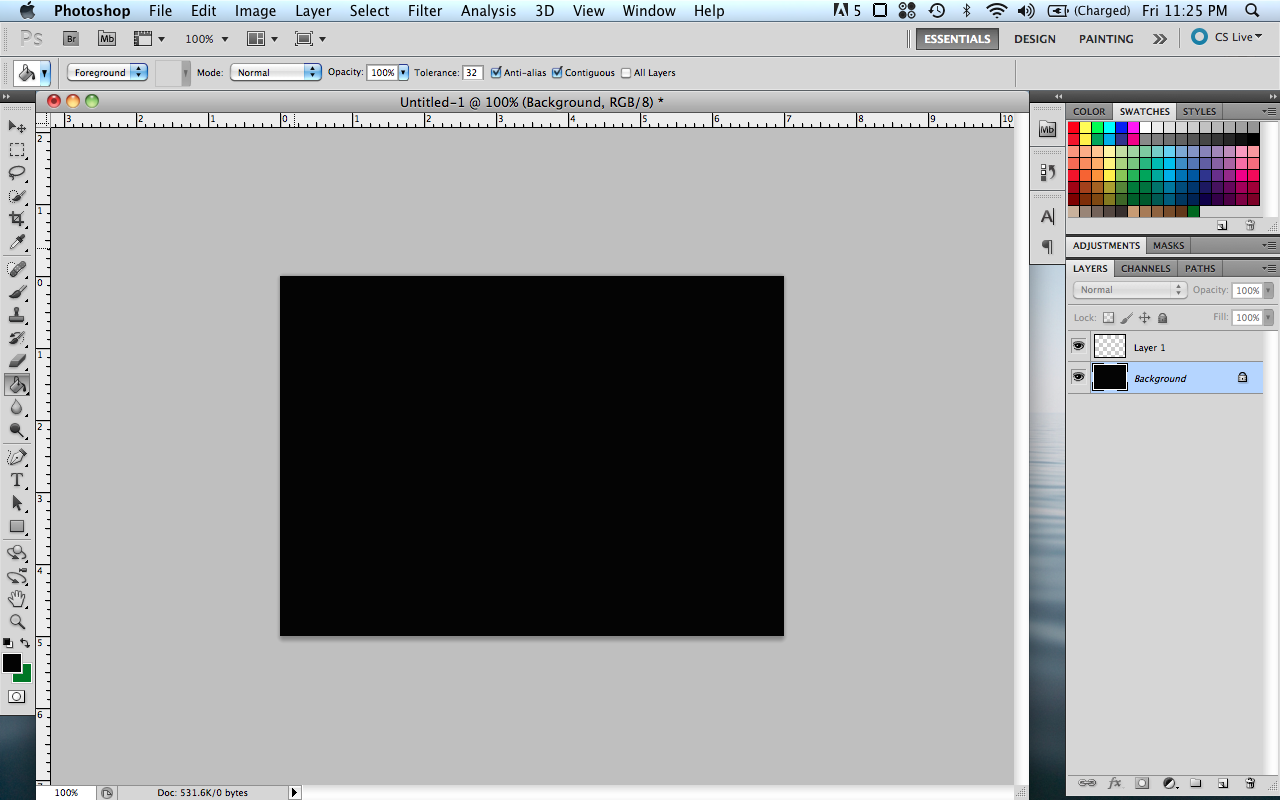
Open Photoshop.


Create a new layer.


With the Paint Bucket tool, fill the background layer with black.


On the new layer, use the rectangle tool to create two white rectangles, overlapping like a cross.


Save the file as a JPEG.

Part 2: Bryce


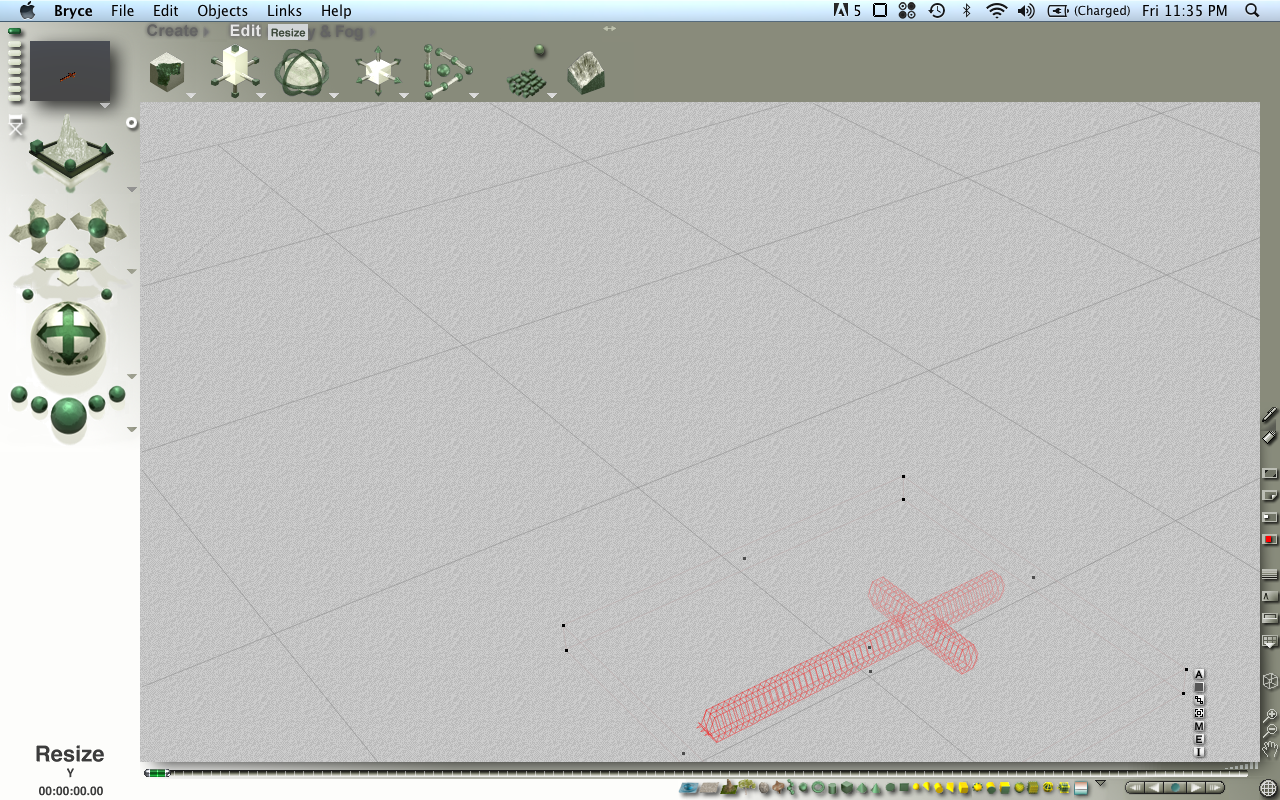
Open Bryce. Create a symmetrical lattice.


Open the editing window.


Upload the cross picture and click "Apply".


Exit the editing window. Flatten, resize, rotate, move, etc. to get the size, proportions, and position you want.


In the Materials Library, select "Cedar wood". If you want, you can render the image and see what that looks like.


Create a new terrain, and make a flat hill. (I hope to create a tutorial sometime soon with more details on how to edit terrain in Bryce.)


If necessary, resize the hill to get the proportions you want.


Move the cross.


Duplicate the cross.


In the "Sky & Fog" menu at the top of the screen, enter the Sky Lab. Then open the Sky & Fog Library.


In the Sky & Fog Library, choose the "Golden Haze" sunrise.


A test render will show something like this:


In the Sky & Fog menu, you can adjust the position of the sun to get it right where you want it.


After adjusting the sun and moving the camera to your liking, you can then get a finished result something like this:


A final side note...


Art is something God created. It is unfortunate and sad that many kinds of art, including 3D computer art, are often used for dark, disturbing, sensual, and evil purposes. Let's remember that even 3D art can be used in a way that glorifies God, and showcases light, hope, and beauty -- in the way he sees it!